My Take on the Spirographic WDT Tools
Ever since diving into my home barista adventure, I’ve been on a wild ride, experimenting left and right to perfect that oh-so-good espresso. Let me introduce you to a little secret(!) called WDT (I’ll get on to that in a bit). And let me tell you, there’s this nifty gadget on the market that’s so cool. As an admirer of all things mechanical, I’m absolutely sold. Sure, it’s got a jaw-dropping price tag, but trust me, after delving into this journey, I get why it’s worth every penny. I might’ve coughed up double the dough trying to match its results, but hey, that’s the thrill of the pursuit, right? The main reason that I tried to build the tool myself is that importing items over 150 Euros where I live is excessively bothersome due to mandatory customs agents, doubling the product’s cost. Faced with steep import taxes on the tool I liked, I transformed the negative vibe into a partially fun project. I decided to create my own, delving into designing after researching 3D printables for similar tools. This journey not only sidestepped import fees but also deepened my understanding of these tools and their fit into my routine. Now, my homemade espresso WDT tool seamlessly integrates into my daily ritual, streamlining my puck preparation process.
The WDT, or “Weiss Distribution Technique,” is recently determined to be a critical step in the espresso preparation process. It involves evenly distributing the coffee grounds in the portafilter basket before tamping. This step is essential for uniform extraction. In other words; proper distribution ensures that the coffee grounds are evenly distributed across the entire surface of the portafilter basket. This quality of the puck allows the water to flow evenly through the coffee grounds at a consistent rate. Without proper distribution, there can be uneven density, leading to over-extraction in some areas and under-extraction in others, resulting in a subpar espresso. The spirographic tools help a lot with the consistency. With this way of WDT, you can replicate the same distribution technique for each shot of espresso, helping to achieve a consistent flavor profile and quality across multiple shots.

You might remember the spirograph from your childhood; it is a tool and essentially a drawing toy that makes beautiful and intricate patterns by moving a pen around gears. When you place the pen into one of the holes on the gear and rotate it around another gear, it creates loops, curves, and shapes. By changing gears or holes, you can make different designs, and the movement of the gears makes the pen draw mesmerizing and symmetrical patterns on paper. Once you make enough movements, you’ll actually fill every bit of a circle. Guess what? If you take this simple approach, you can actually touch every bit of the portafilter and distribute the ground coffee evenly and more importantly, consistently.
I think this is enough to give the context and introduction. Let’s get on the real thing! After many experiments, my final design looks like this in the 3D form:

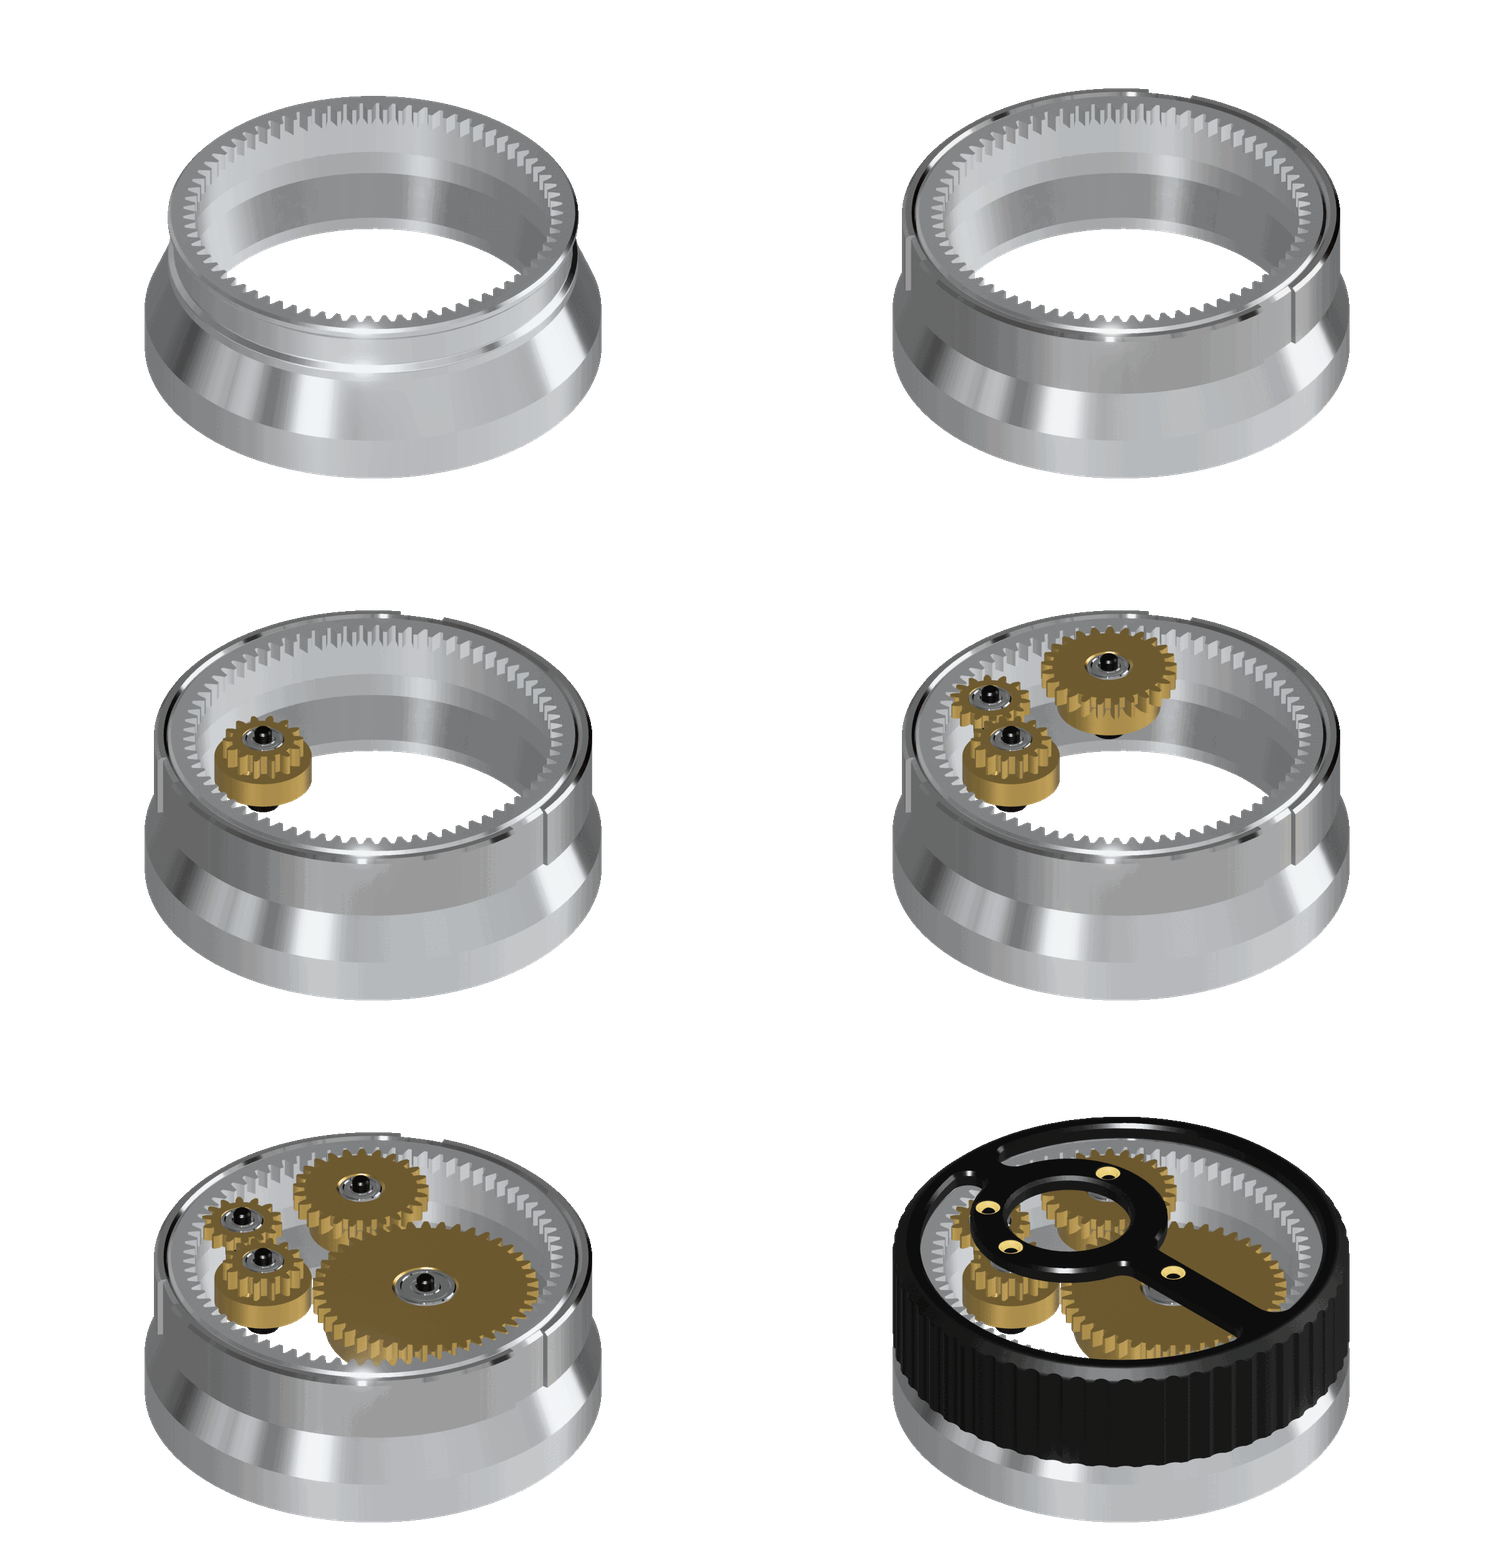
Check out this animated picture showcasing the different parts of this WDT tool. Let’s break it down: we begin with the base, pretty straightforward. Then comes a ring that assists in handling the bearing mechanism by attaching to the top part. Next, four gears join in which will hold the needles for the spirographic movement. Finally, we secure everything in place with the top cover. The exciting part starts when we rotate the top to create captivating spirograph patterns.

I applied food-grade lubricating grease to reduce friction in the movement of the bearing. It’s actually spinning quite smoothly now. Additionally, there’s a hole designed to allow the feeding of grease between the inner and outer rings of the bearing. Below is a cross-sectional view of the drawing to help you comprehend its functioning (BTW, you can see the lubrication hole on the right-hand side):

I’ve incorporated an additional feature by attaching magnets to the bottom of the tool. This modification allows the tool to adhere to the portafilter basket’s edges, eliminating the need to hold it with both hands while turning. Now, you can effortlessly spin it using just one hand. Specifically, there are 12 holes designed to accommodate 6x3mm magnets for this purpose.

Alright, I’ve gotta confess, I jazzed up this drawing with some eye-catching colors to make it easier to follow along. The end product you’re seeing is clearly a 3D print and doesn’t have any of those metal components; instead, we’re swapping those out for trusty old thermoplastics.
If I’ve already overwhelmed you with enough 3D drawings, let’s get down to some action, shall we? Allow me to introduce you to the components responsible for ensuring a smooth and high-quality rotation of these gears, enhancing the overall feel of this project. The brass piece you see below serves as a threaded insert. The process involves heating it up and attaching it to the thermoplastic. This fusion creates a sturdy bond, and a screw secures it firmly in place. Additionally, there’s a small ball bearing inserted within the gears to stabilize their rotation axis during movement.

This project provided numerous learning opportunities, especially in understanding the proper application of inserts. The crucial aspect to ensure is that the vertical axis remains perpendicular to the flat surface, ensuring the proper rotation of gears. This alignment is vital because the screws are attached to these heated inserts, which securely hold the gears in place. Essentially, it stemmed as a spin-off from a previous project. Instead of reinventing everything from scratch, I relied on existing designs sourced from the internet, tweaking them to suit my specific requirements. I utilized a robust belt for the movement mechanism, enhanced the soldering iron holder, and considering my metal desk, integrated a magnetic base. Here’s the 3D rendering of this project:
Enough flexing here, let’s get to some real-life pictures:


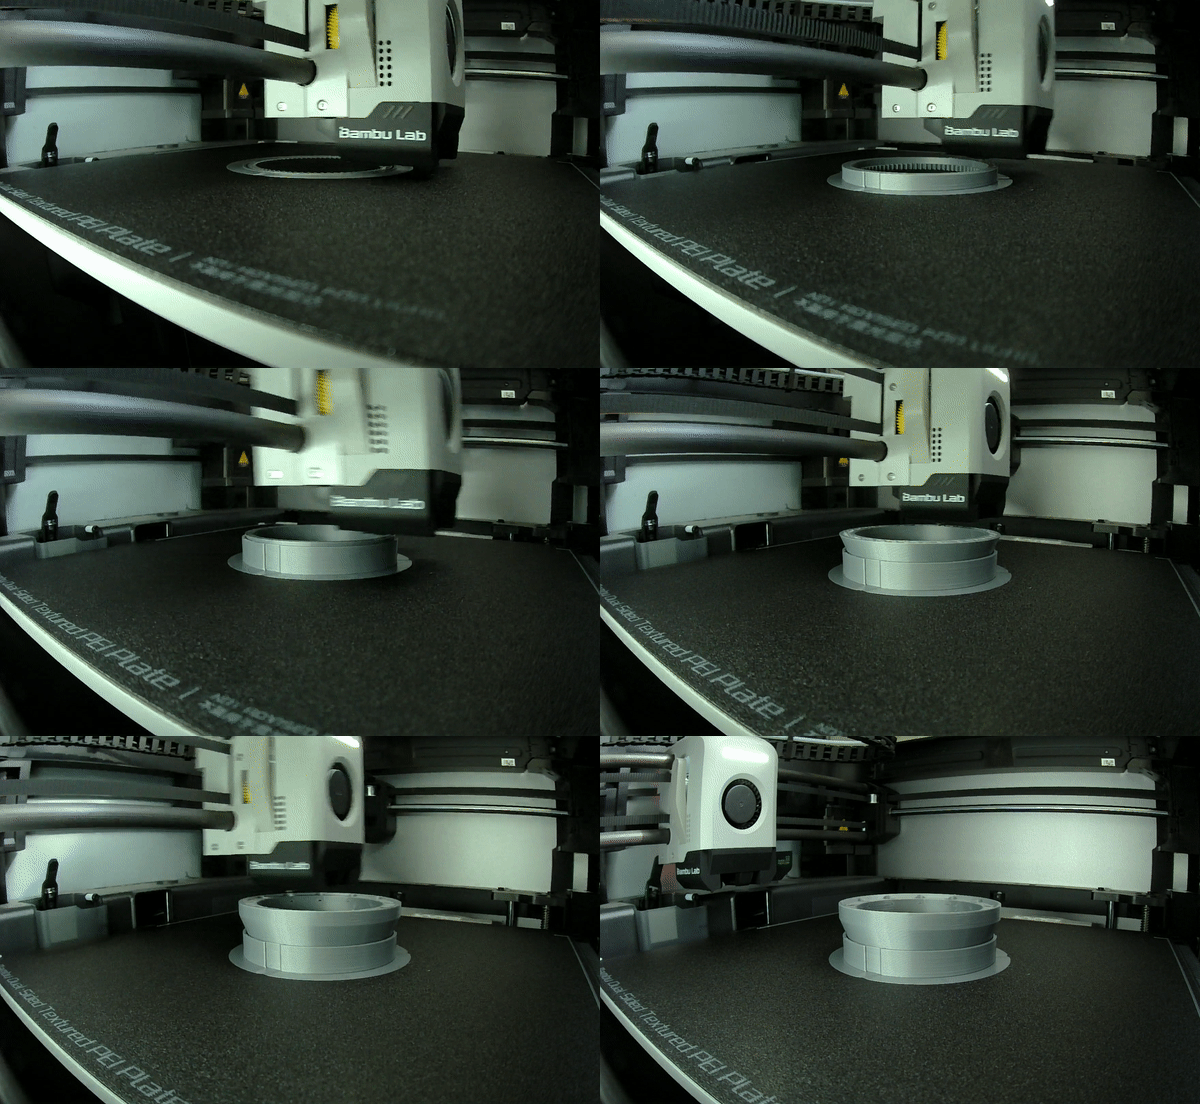
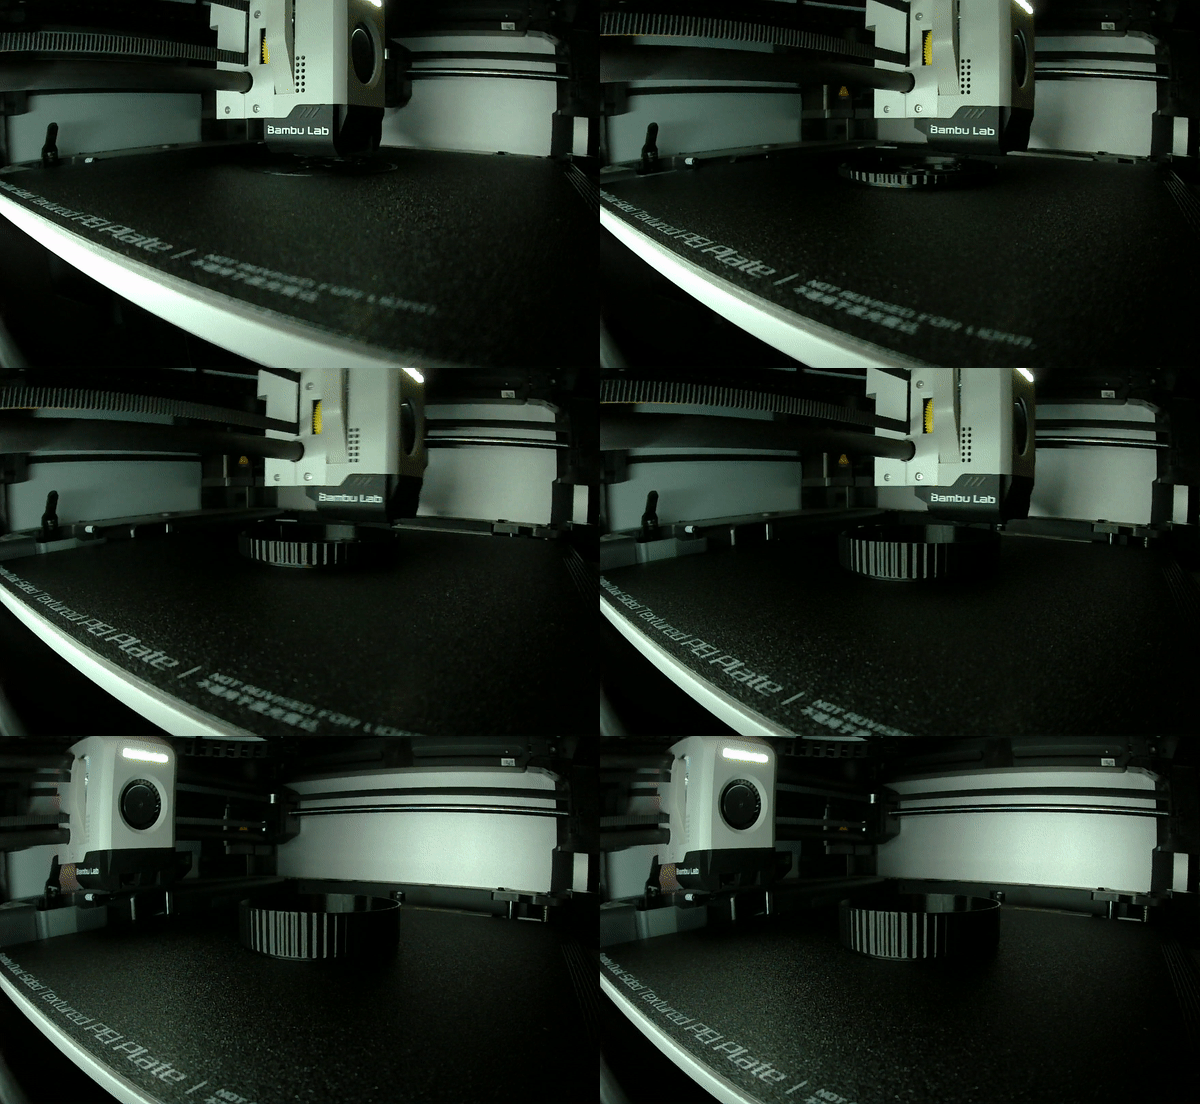
Allow me to include these fascinating timelapse videos. The initial video showcases the bottom part, illustrating the prototype’s evolution. In the final product, I utilized a different material than what was seen in this prototype. The second video features the top part, which is the component you grip and rotate during operation.


These are the parts all set for assembly. The design has been on a dynamic journey in terms of its evolution. With each new print, there have been slight adjustments, so nothing here is set in stone. Expect potential changes in materials, shapes, and other aspects as the design progresses.

One other small detail worth noting is the TPU gasket, which enhances the grip on the portafilter basket. While the magnets provide a firm hold, the gasket significantly stabilizes the tool. However, using a softer TPU might have been more ideal; the one I used had a hardness of 95A, leaning towards the tougher side.
Stay tuned for the sequel – Part II: The Unveiling of Results and the Epic Workflow Videos! What a catchy title, don’t expect anything crazy though. I might be keeping you on the edge of your seat if you are really interested in it, but hey, I’m still throwing this out on the internet. Who knows, maybe it’ll stir up some extra excitement for some!
I would like to hear your thoughts about this post. If you want to share with me, you can find me on Twitter.
